Using Optimizely and Google Tag Manager
While you can do a lot with Google Tag Manager, you can’t load Optimizely via Google Tag Manager unfortunately. This is because Optimizely needs to be loaded synchronously in the head section and Google Tag Manager does not support synchronous loading.
Pragmatically this means that Optimizely won’t integrate well with analytics and the old page might show briefly before the Optimizely version of the page loads, creating a “flash effect”. To install Optimizely, on your site, you’ll need to add your Optimizely code into the <head> section of your site.
If you are using Google Tag Manager, you do need to update your Google Analytics tracking code if you want Optimizely to integrate with your Google Analytics custom dimensions. While this isn’t a necessity to use Optimizely, it will allow you to create custom segments in Google Analytics and to view your test performance data in GA rather than in Optimizely.
How to Install Optimizely and Integrate it With Google Analytics via Google Tag Manager
A standard Google Analytics implementation via Google Tag Manager leverages a template to set up GA. You select track Pageview, add in your UA ID, set the firing rules and you’re done. While this is easy and makes some advanced settings very accessible, if you’re integrating Optimizely, you can’t use this template. You’ll have to use a Custom HTML tag instead. Below are the steps to install Optimizely and properly set up Google Analytics (deployed by Google Tag Manager).
1. Create an experiment in Optimizely
2. Add the Optimizely snippet to the <head> section of your page. You’ll get this by navigating to ‘Settings’ under ‘Implementation’.
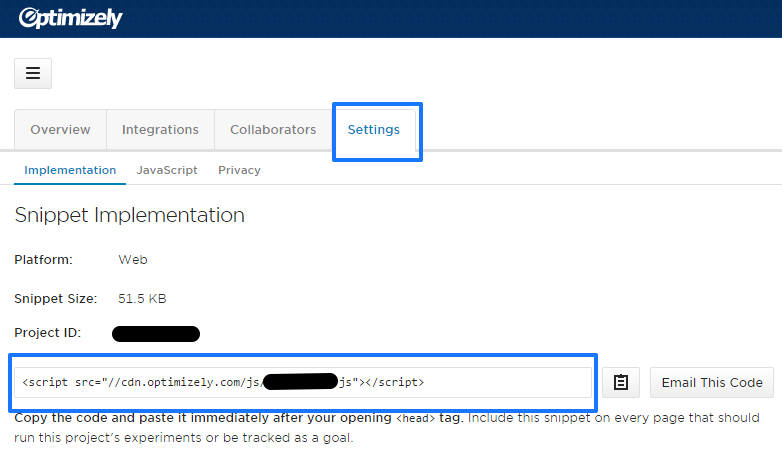
This should be added to your <head> section outside of Google Tag Manager.
3. Then, you’ll sign into Google Tag Manager and add a Custom HTML Tag. Choose this instead of using the Google Analytics template tag. To do this, click “Create New Tag” in GTM, then select the Custom HTML Tag option.

4. Next grab your tracking code from Google Analytics. Open up GA, navigate to the Admin tab, then click Tracking Info and grab the Tracking Code. It should be in a text box that starts with <script> and ends with </script>.
![]()
5. Paste this section in to the HTML text box of Google Tag Manager.
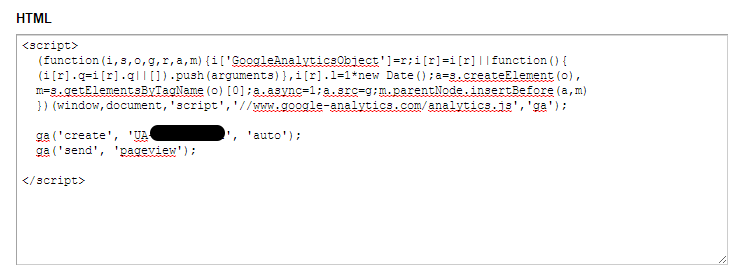
6. Then you’ll edit this script by adding an Optimizely activation call between the GA ‘create’ and ‘send’ calls. This allows Optimizely to input custom dimensions into GA. So find ga(‘create’, ‘UA-XXXXXX-X’, ‘auto’); // and ga(‘send’, ‘pageview’); // and paste in the following between them
// Optimizely Universal Analytics Integration Code
window.optimizely = window.optimizely || [];
window.optimizely.push("activateUniversalAnalytics"); //
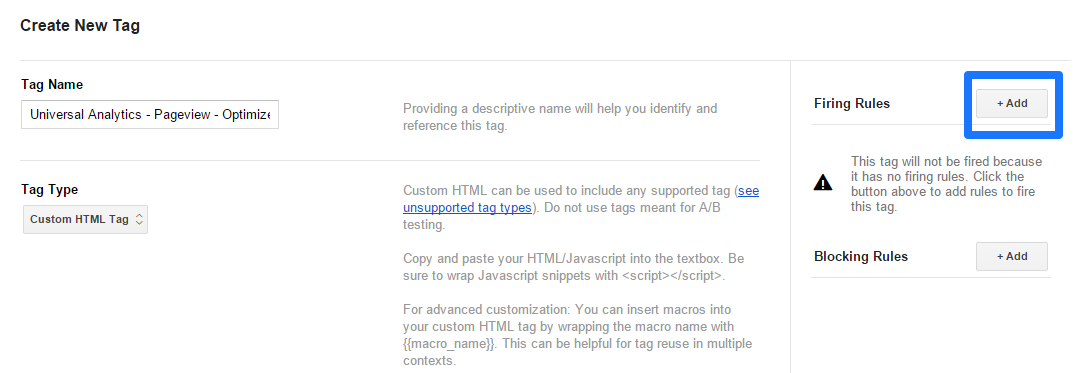
7. Next set a firing rule for your new Custom HTML Tag by clicking ‘Add’ on the right side. Then select the rule to ensure it fires on all pages and click save.
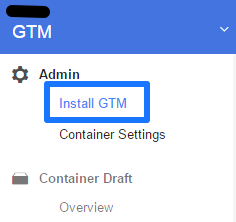
8. Now navigate back to your own site’s code. If you’ve been using Google Tag Manager, the container script should already be in your <body> section of your site. Check to make sure it’s there. If you’re just setting up Google Tag Manager on your site, you’ll need to install your GTM code immediately after the opening <body> tag. You can find your GTM code by going to Admin > Install GTM.
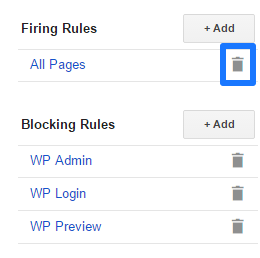
9. If you’ve been using Google Tag Manager to deploy your Google Analytics code, you’ll now have two tags that are doing the exact same thing. One is your new Custom HTML tag that we just created and the other is the Universal Analytics Page View tag. You need to remove the rule that fires the Universal Analytics Pageview tag. Keep the tag in case you want to use it again, but remove the rule so that it doesn’t fire.
10. The last step is to hit publish for your updated GTM container.

